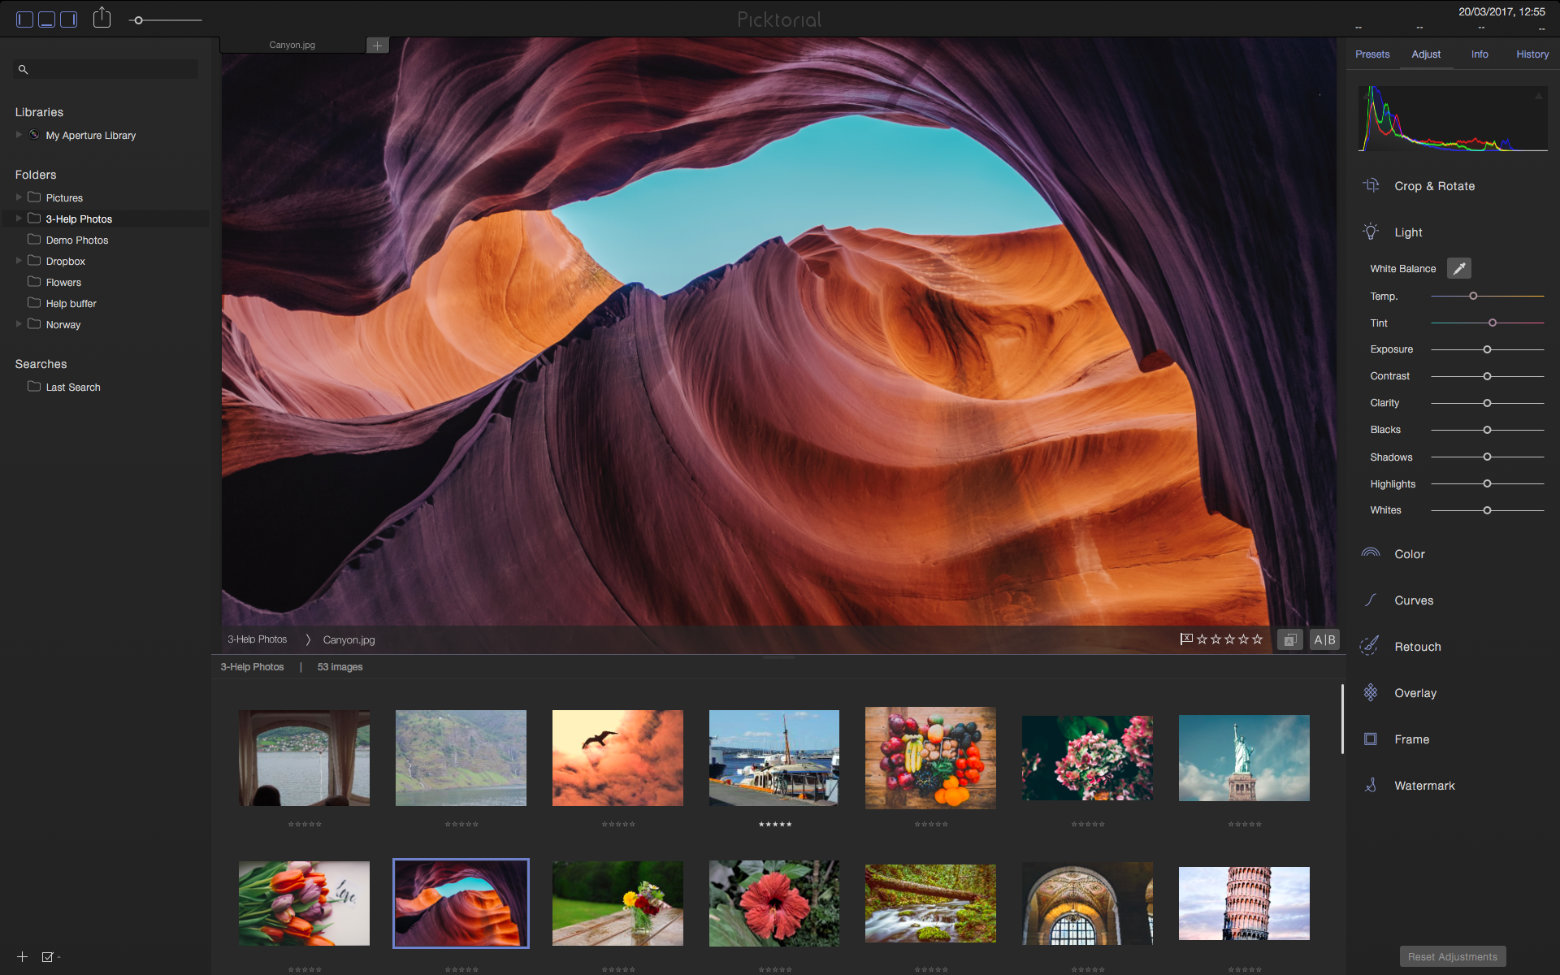
Library
Viewer
Browser
Inspector
This guide will help you begin organizing and enhancing your photos with Picktorial. Intuitive and user-friendly, Picktorial has been designed to give you as much flexibility as possible while being easy to learn and use. Although you can jump in and begin exploring the features of Picktorial on your own at any time (you can undo everything!), below are some basics to help get you started.
Picktorial is an intuitive, fast, and powerful photo manager and editor for Mac macOS that has everything you need to view, enhance and share your photos.
Picktorial has a single window, arranged as a set of resizable and collapsible panels. So everything you need is in front of your eyes. This window contains the following areas:
Library
Viewer
Browser
Inspector
The center of the window contains a convenient tab-based Viewer that gives you instant access to multiple photos at once. You can also display a secondary tab-based viewer for side-by-side viewing and editing.
On the left-hand side of your window are your photo libraries and folders. To learn how to add additional folders or libraries, click here. When you select a folder from the library, its photos will appear in the image Browser below the image Viewer.
Each of these panels can be hidden or shown using the View menu or using the buttons at the top of window (  ). Alternatively, you can use the keyboard shortcuts Command [, Command ] and Command / to hide or show the right, left and bottom panels, respectively.
Picktorial offers a catalog free workflow by automatically monitoring changes in referenced folders. Changes in referenced folders are automatically reflected in Picktorial.
When importing a folder, your photos are not copied and edits are saved in a non-destructive way to the same folder. This enables working with standard solutions like Time-Machine for backing up and Dropbox for syncing.
Locate the folder in Finder.
Drag the folder from Finder to Picktorial viewer.
After adding the folder you can browse and edit photos in this folder.
Drag a photo from the Finder directly to the Viewer or use the File > Open... menu.
This only opens the photo in the Viewer rather than adding it to the library.
Whether your work with folders or individual photos, edits are saved in XMP sidecar files next to the original RAW files or embedded in the file themselves in the case of other formats. Picktorial saves your edits non-destructively and lets you modify your edits in any order without undoing later edits. You can of course revert to the original image at any time. You can safely move the files to another location or computer without losing your edits.
You can also add a reference to folders from external drives and shared folders (e.g. from NAS drives or Dropbox-like folders).
When you add a folder from an external or shared drive, Picktorial keeps a reference to that folder without copying any file. Picktorial automatically monitors the content of the folder so changes made from other machines will automatically reflect in Picktorial.
Adding a folder from an external drive works just like regular folders from your internal drive. Simply drag the folder from Finder to Picktorial (or use the Import menu as detailed in the previous section).
You can browse photos directly from a camera, a card reader or mobile device. Photo editing directly on the device is deliberately disabled to protect your data.
Note that SD cards can be also referenced as external drives in Picktorial. This will enable you to edit directly on the SD card nut this is not recommended.

The Viewer, located at the center of the window, is where images are displayed for editing or viewing. In the Viewer, you can zoom, pan (i.e. change the visible part of the image at large zooming scale), and perform global and local editing operations when the relevant tool is active.
To open a photo in the Viewer, click on its thumbnail in the browser
To zoom in or out do one of the following:
To pan for changing the visible portion of the image:
At the bottom of the Viewer, you will find a contextual toolbar. By default, it displays the location of the image and buttons to set star rating to your photos. When some tools are active, the toolbar will contain buttons and sliders relevant for that tool.

You can also open a secondary Viewer by pressing Command |) or by clicking the A|B button at the main Viewer bottom-right.
To switch between the primary and the secondary Viewer simply click on the Viewer you want to activate.
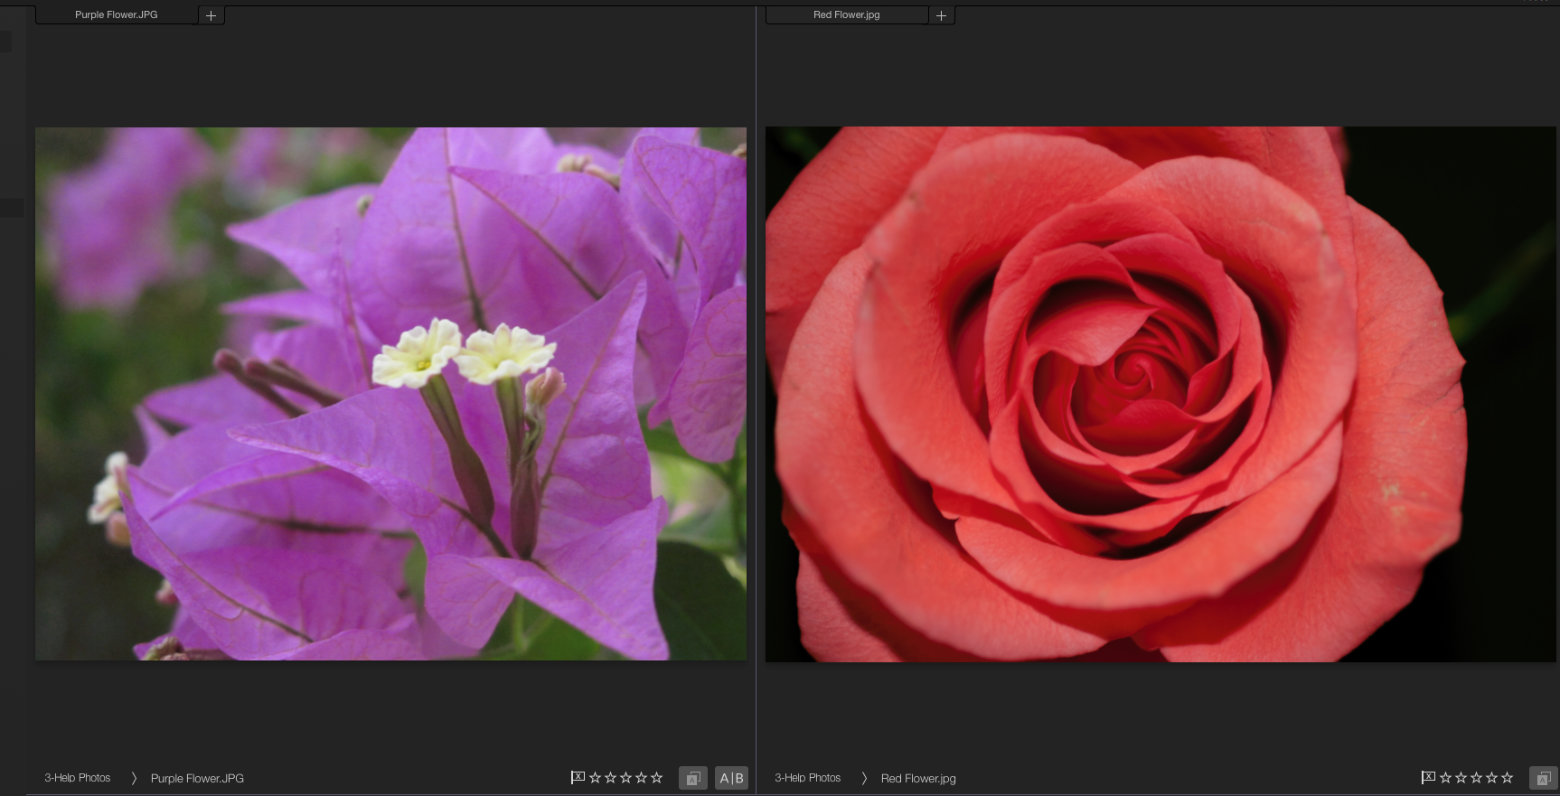
By default, when you select an image in the Browser it's opened in the active Viewer at its front tab. You can identify this tab as the one that has the same color at the window title.
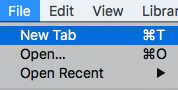
To open a new tab at the active Viewer, press Command T or choose File > New Tab from the main menu. The new tab will contain the same image as the previously selected tab. You can change the content of this tab by selecting another image from the browser. To switch between the primary and the secondary Viewer simply click on the Viewer you want to activate.

To Close a tab:
Use the File > Close menu (or >Command W).
The current tab in the Viewer will be closed and the photo will be replaced with the photo in the next tab if exists, else the “Empty Viewer” will be displayed.
This action is not undoable

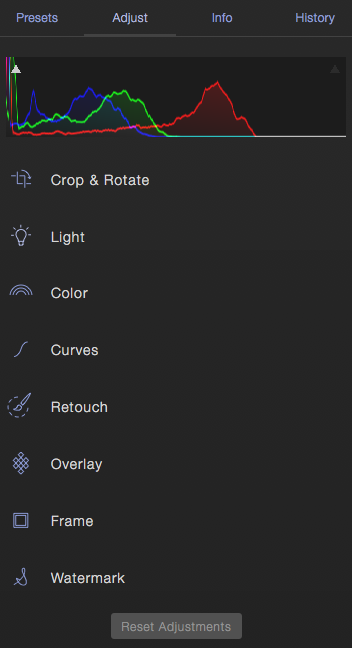
At the top of the Inspector pane, you will find tabs to switch between different panels, dedicated for presets, Adjust (editing photos) info (metadata), and undo history.
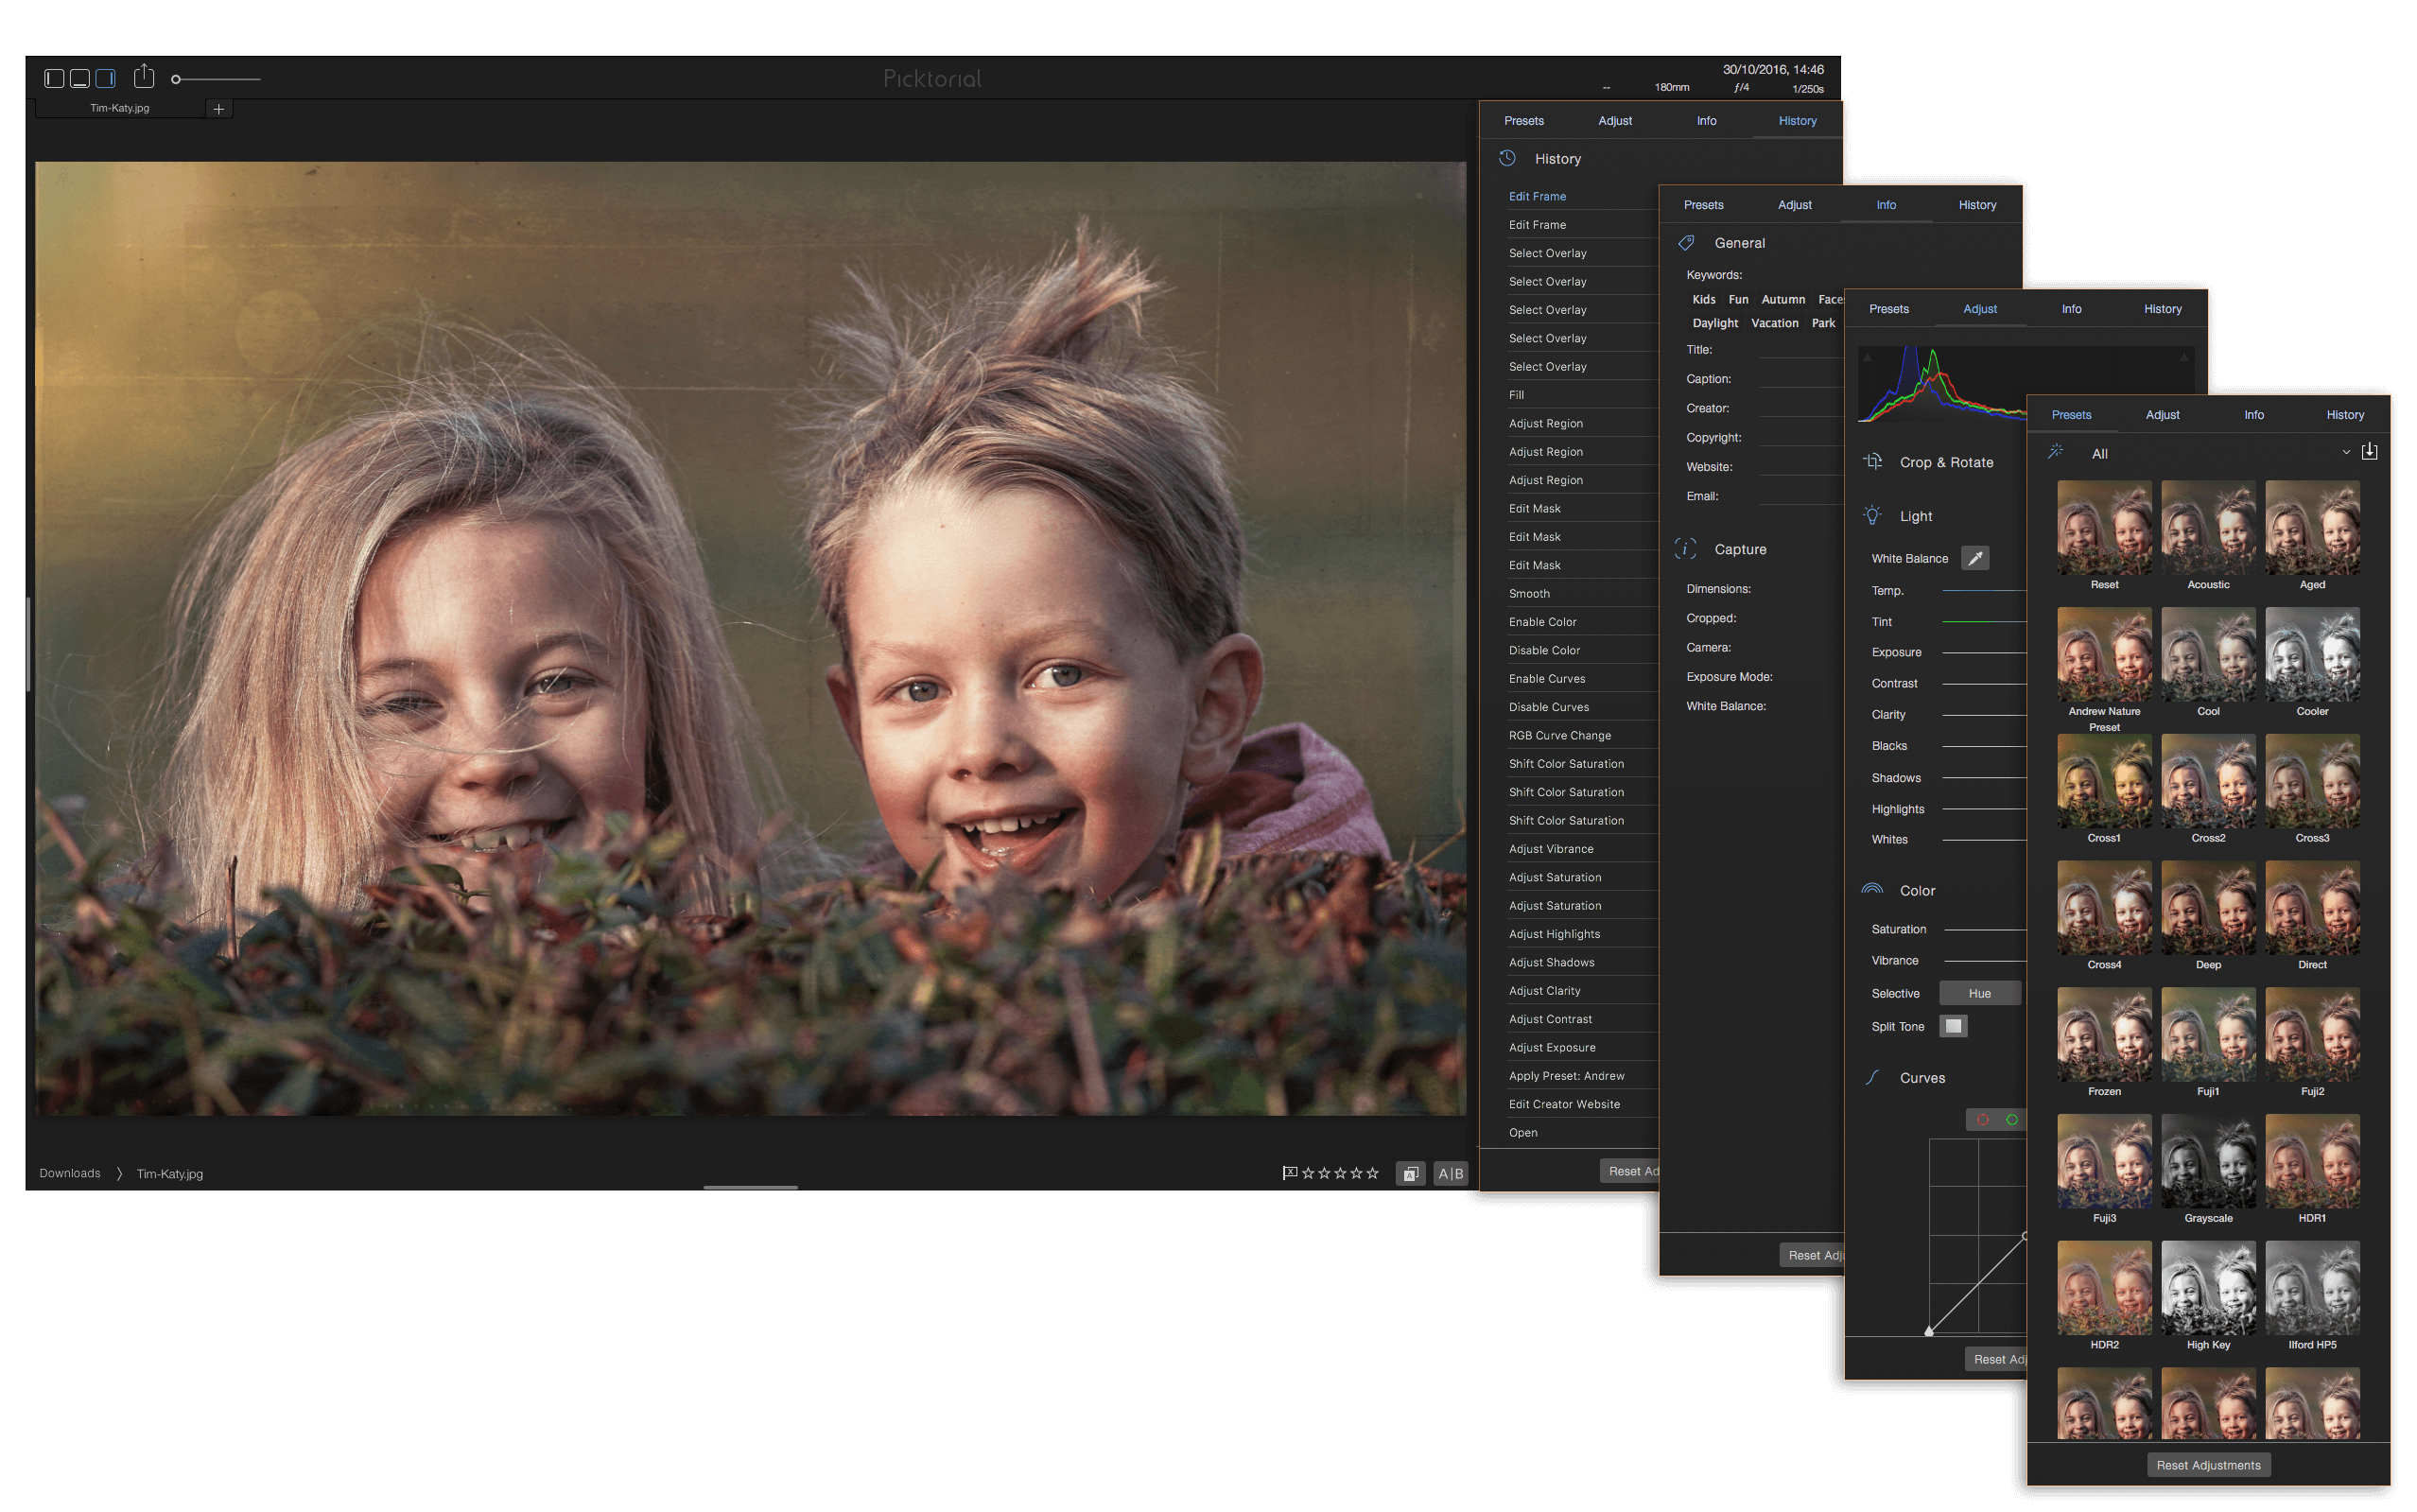
The Preset panel enables you to see and browse more presets in a dedicated vertical panel. See Preset.
The Adjust panel enables you to edit photos and includes all operators and sliders
The Info panel lets you view and edit more metadata fields, such as "copyright", "caption" "title" and more. You can also view more information about the camera settings at capture time.
The History panel let you jump to any point in the undo/redo history, without pressing Command Z dozens of times! See History.
All editing tools at Picktorial can be accessed from the Adjust Panel of the Image Inspector panel at the right-hand side of the window. If the inspector is not opened press Command ] or click the handle at the right edge of Picktorial main window.
Edits in Picktorial are applied non-destructively. That means that you can always refine your edits, even after making further changes and without undoing the latest ones. Of course, you can also revert to original by clicking the Reset Adjustments button at the bottom of the inspector or undo and redo your previous edits see Undo / Reset
The editing tools are grouped into sections: Presets, Crop & Rotate, Light, Color, Curves, Retouch, Overlay, Frame and Info. To open a section, click its title or icon, another click will close the section. Some of the tools are pretty straight-forward, (notably, the ones that are purely slider-based), while others may require a bit of guiding or trial-and-error experiment. To learn more about the specific editing tools see the Photo Editing section at this guide.
At the top of the Adjust tab, you will find the histogram. The histogram displays the distribution of the color intensity at each of the red, green and blue channels of the image. For more details on the histogram, see Histogram.
Image adjustments made with Picktorial can be changed or reverted at any later time.
For JPEG and DNG files the editing information is embedded at the original file while for RAW files this information is saved within an XMP sidecar file. Thus, you can keep working and modify your adjustments even after you closed Picktorial and even on another computer (e.g. by working in a shared folder through services such as Dropbox and Google Drive).
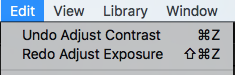
To undo an adjustment action press Command Z. Press Command Shift Z to redo an undone action. Alternatively, choose Edit > Undo or Edit > Redo from the file menu.
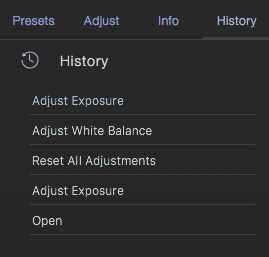
You can also navigate in the undo/redo in the History panel and select any point by clicking on its line

To reset all adjustments click the Reset Adjustments button at the bottom of the Image Inspector (open the Image Inspector if it's not already opened).

To reset the adjustments under a specific section, click the Reset button at the right-hand side of the section header. The reset button is only visible when the settings are different than their defaults.
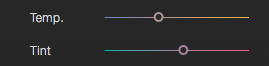
To reset a slider to its original value, double-click its knob. Some sliders are grouped together for this reset functions, so for example, you can reset the two temperature and tint sliders together by clicking on either of them.

You can also disable a specific adjustments section and re-enable it later by clicking the toggle button at the right-hand side of the section header.

To compare the adjustments output with the original, click and hold the compare button. If you want to keep this button pushed in without holding the mouse button down, press the Command key while releasing the mouse button.

To export the original file, choose File > Export Original...