Whether behind the camera lens or in front of it, small details of a portrait image matter a great deal. Using Picktorial, a photographer can swiftly and easily remove small but persnickety elements - a camera’s flash, a skin blemish, a nick from shaving - that distract from the image as a whole.
Photographers, subjects, or editors must decide for themselves the balance they want to strike between the organic realism of a portrait and the often aspirational nature of, say, portfolio images or headshots. A good rule of thumb to follow when editing is, if a particular element on a subject’s face or body will disappear naturally within a few days, the editor or subject may feel more inclined to remove it, at their discretion. Even with more extensive retouching work, I try to maintain a subject’s natural appearance, and avoid giving him or her a “plastic skin” look. No matter the decision or degree of editing, Picktorial provides a robust and intuitive platform in which to make every individual appear their best.
Adjust Exposure to Highlight the Important Parts
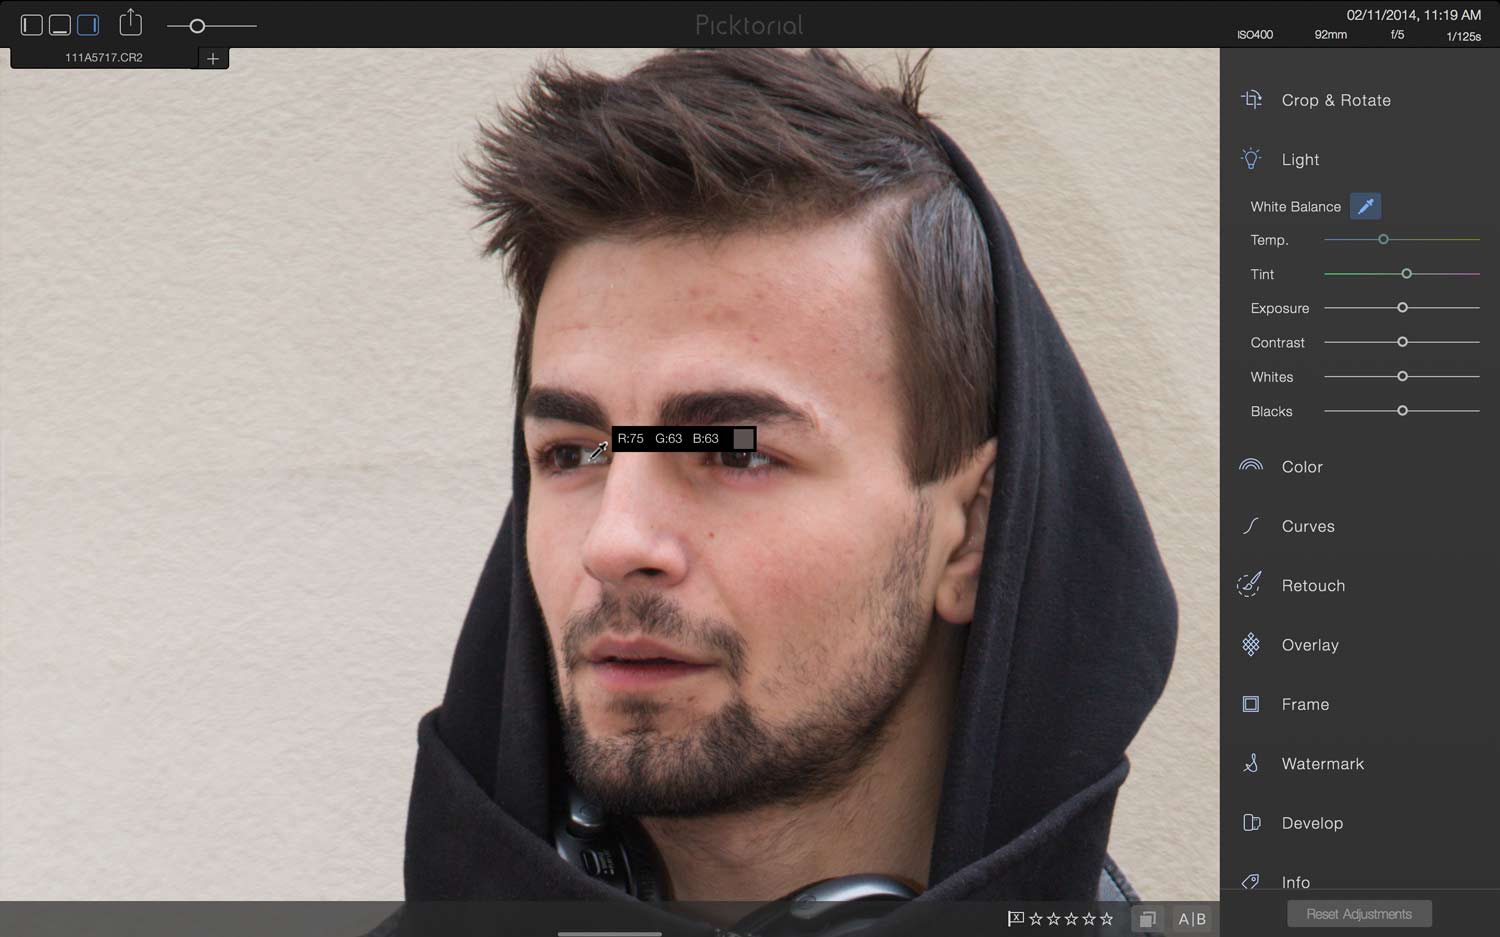
In much the same way that your eye is naturally drawn toward an individual, rather than what’s behind him or her, we’ll want to adjust the light in our picture to draw the viewer’s attention to our subject, as well as his defining features: his eyes and his hair. To do so, we will make two distinct adjustments to the picture’s brightness. The first step will be to reduce the image’s overall exposure, and the second will be to selectively raise the exposure of the parts of our subject we wish to highlight.
For the first step, use Light > Exposure, to slightly decrease the exposure of the entire photo. Based on the lighting of our image, and the colors our subject is wearing, I reduced the exposure to -.75.
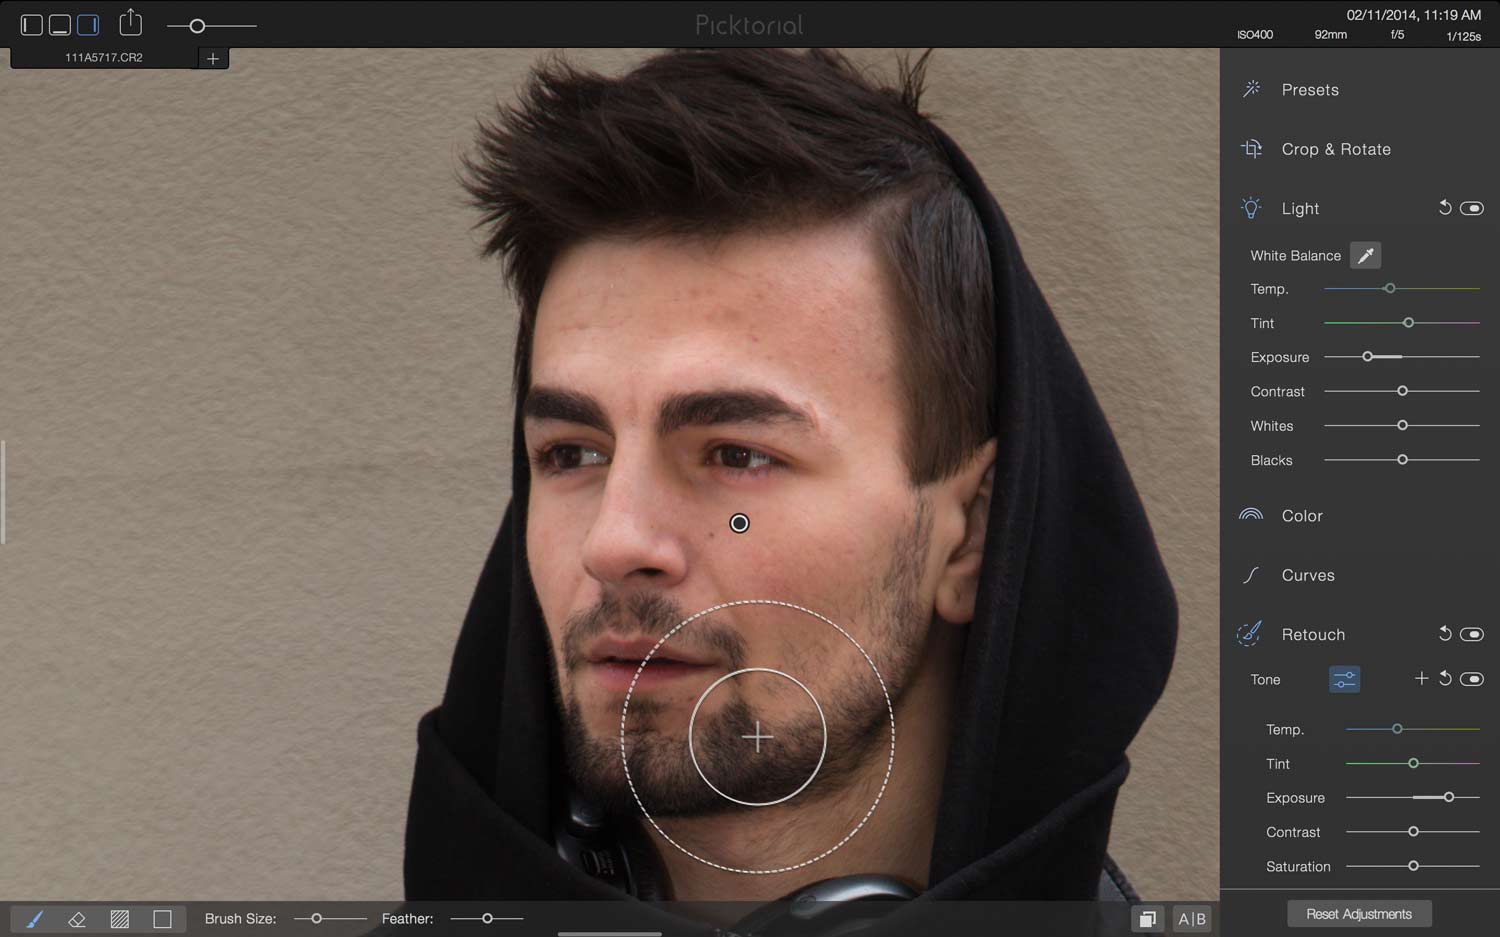
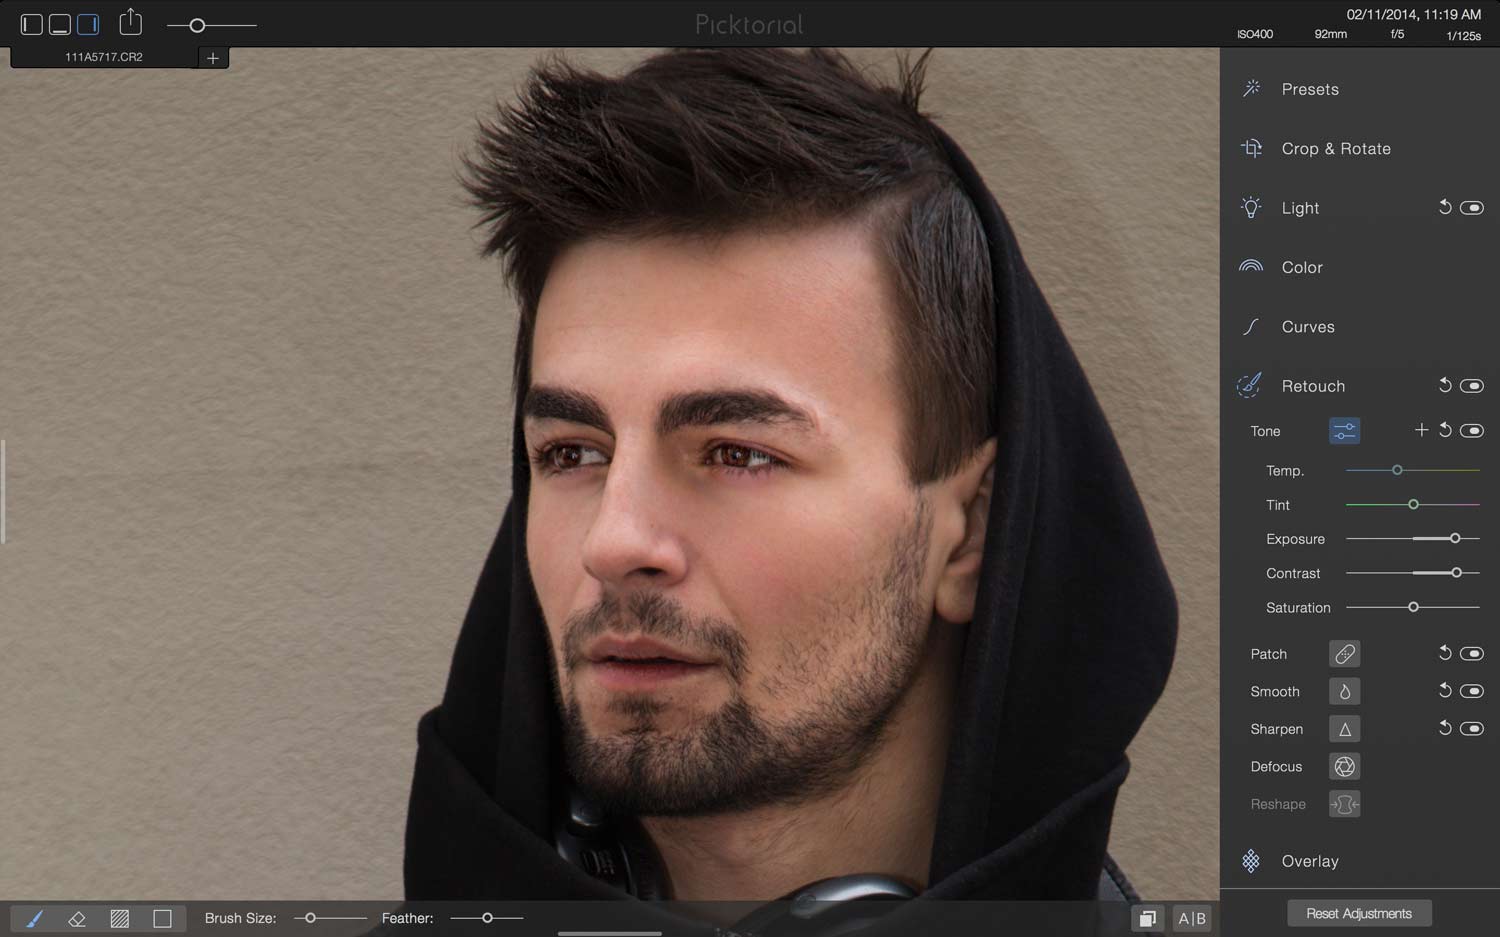
Since we want our subject to “pop”, we’ll want to slightly brighten his face, relative to the background. To do so, return to Retouch > Tone and use the Exposure slider to ratchet up the brightness. For our example, I raised the exposure to 1, but you should be sure to tailor the level of exposure according to your subject’s skin tone and overall picture brightness.
Clear Up Skin Blemishes Using Patch
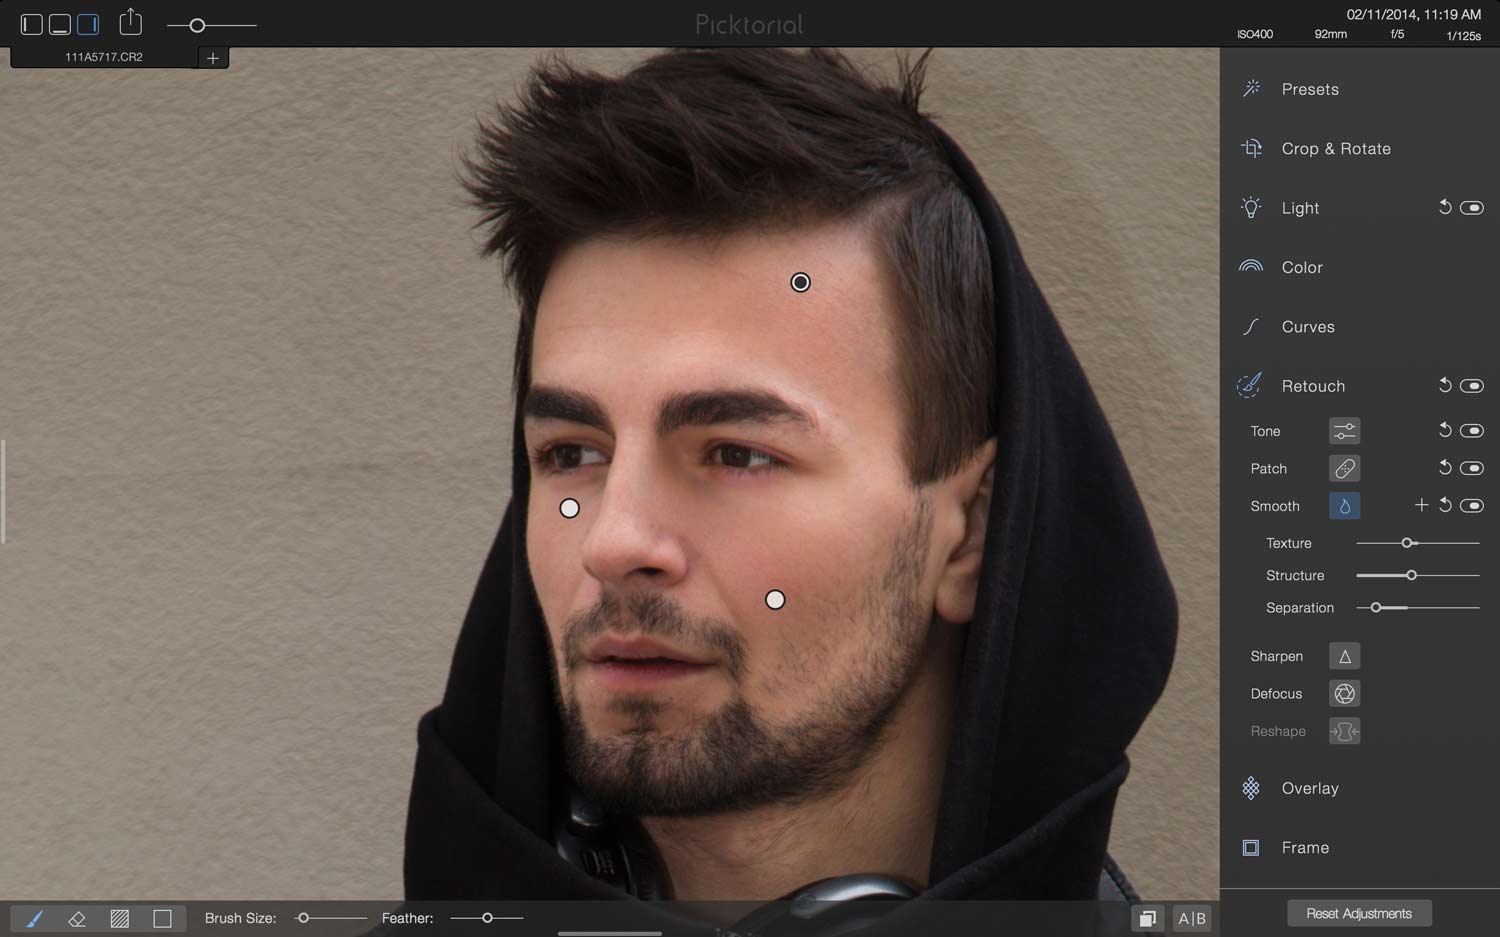
In the image above, our subject has a few skin blemishes on his forehead that will likely clear up in a few days. Use Picktorial’s Retouch set of tools to quickly remove some of those blotches in a bit less time. For our exercise, we’ll specifically use the Patch tool (nested beneath Retouch) to select a certain unblemished portion of our subject’s forehead and duplicate that segment of skin onto the part of the forehead that requires attention. When you initially select Patch, a target will appear. Use this initial set of crosshairs to target the area you wish to replace.

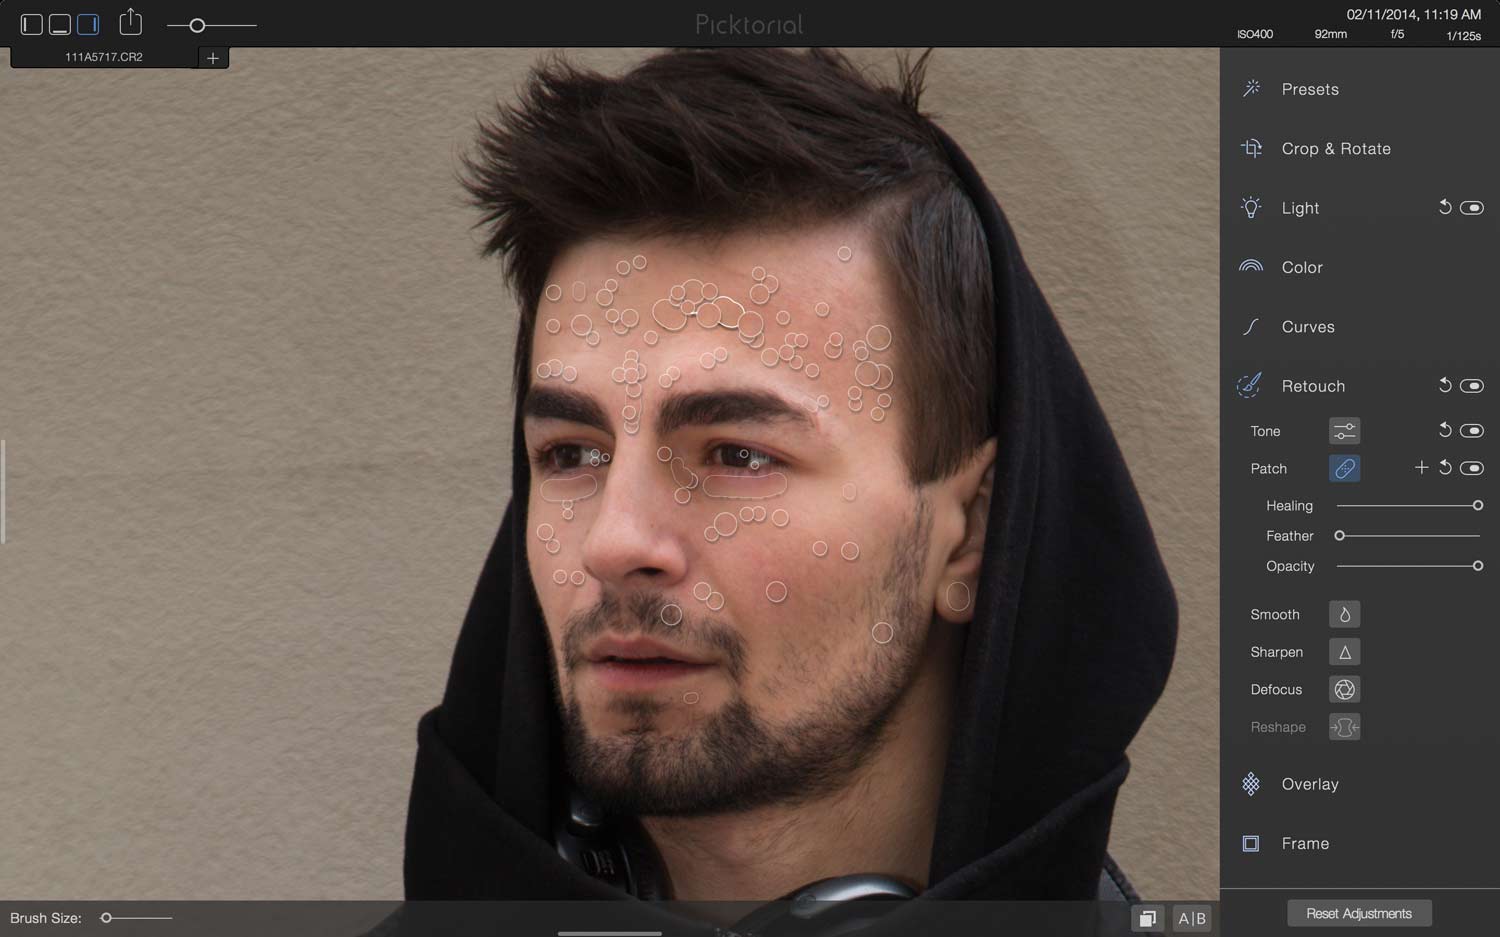
Repeat this action as many times as necessary in order to clear up the targeted area. Remember that to add additional “layers” of effects, simply click the “+” button. It’s critical to select an origin source that appears similar to its destination, in order to prevent a color mismatch. Be aware that when the Healing slider is on right (as it is by default), it will copy the texture - but not the color - of your original selection, and fuse it with its surroundings. And because you’ll want to be tightly zoomed in on our subject’s face, it’s best to narrow the targeting rings by gently scrolling on your mouse wheel or trackpad.
Although I could remove the scar from the side of our model’s left eyebrow, it’s certainly more of a distinctive mark, rather than a blemish, and I’ll opt to keep it in. Note, however, that there is a reflection of the camera flash in our subject’s eyes. Return to the Patch tool to quickly duplicate the non-reflective portions of the iris, and place them over parts of the eye that have been “flashed.”
Use Smooth to Soften Imperfections
As you can see, by using Patch a few times on selected regions, we’ve eliminated a lot of the blotchiness from our model’s forehead, and a bit from his cheeks. However, it’s still not as smooth as it could be, and may draw the viewer’s attention from the rest of the image. Therefore, we’re going to take one more step to give our subject cleaner, but still natural-looking skin. For this step, we’ll use the Smooth tool (nested beneath Retouch) to adjust out the surface at hand.
For our image, I will slightly decreased the texture to about -40, and decrease frequency separation to about 1.2. I chose these settings based on the size of the subject in our sample image, and the naturalistic look we’re seeking, so feel free to experiment accordingly in your own photos. Remember that in some instances, you may need to use different sets of parameters for different parts of your image (using the + button), although in our case, one set of parameters works well enough. Picktorial is also unique in that you can define a region first, and then adjust your frequency separation in real time, without having to guess how the end result will appear. I’m only going to very selectively apply these effects to our subject’s face, since I don’t want to erase his natural forehead crease.
Sharpen Defining Features
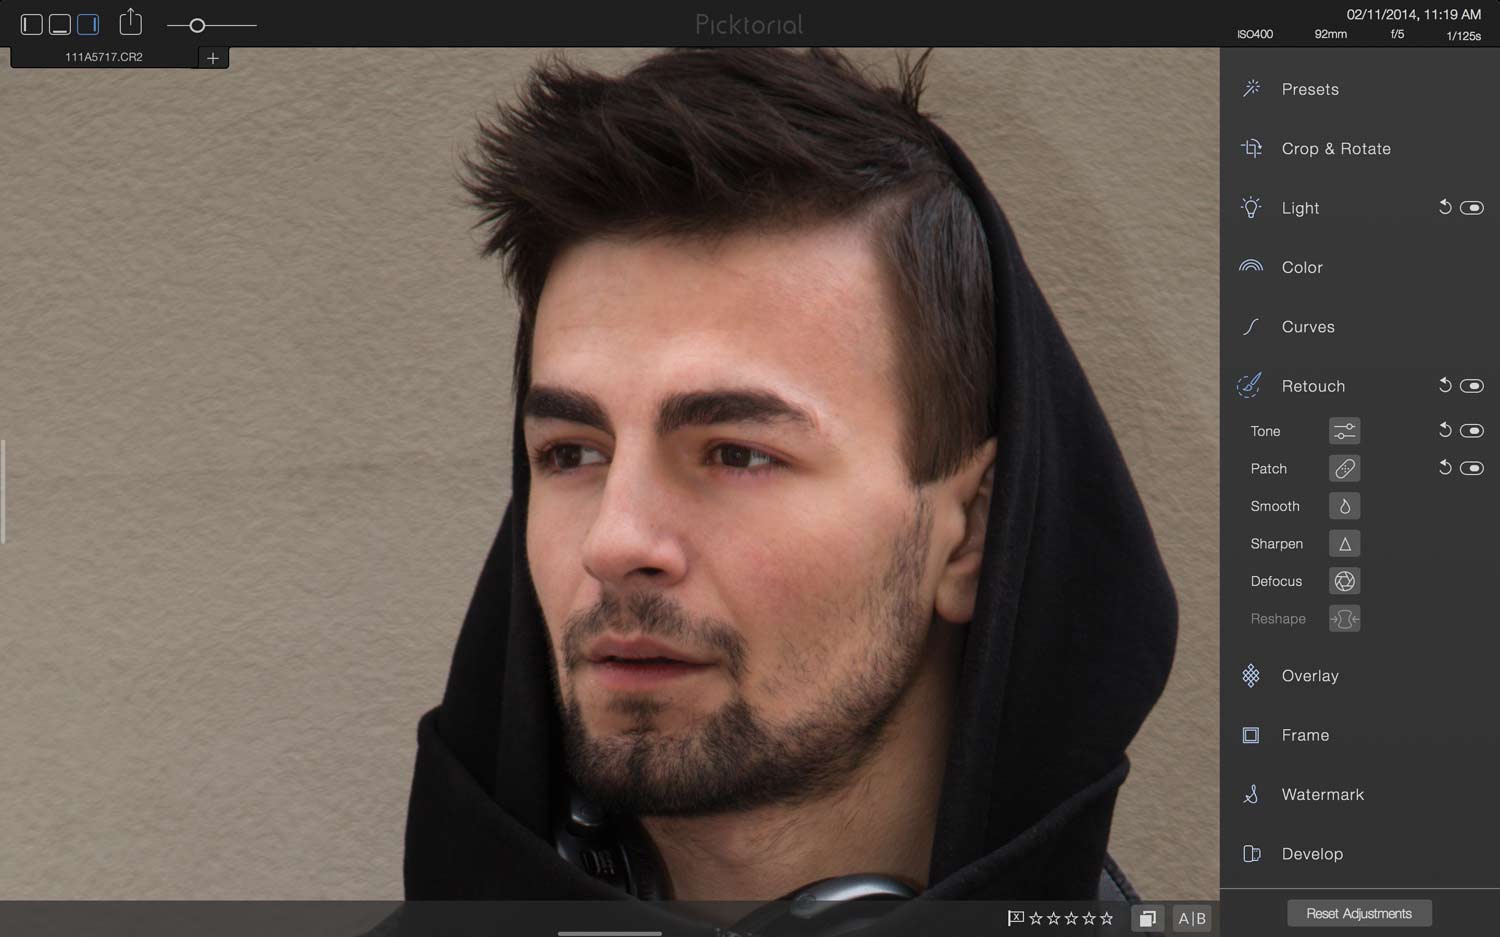
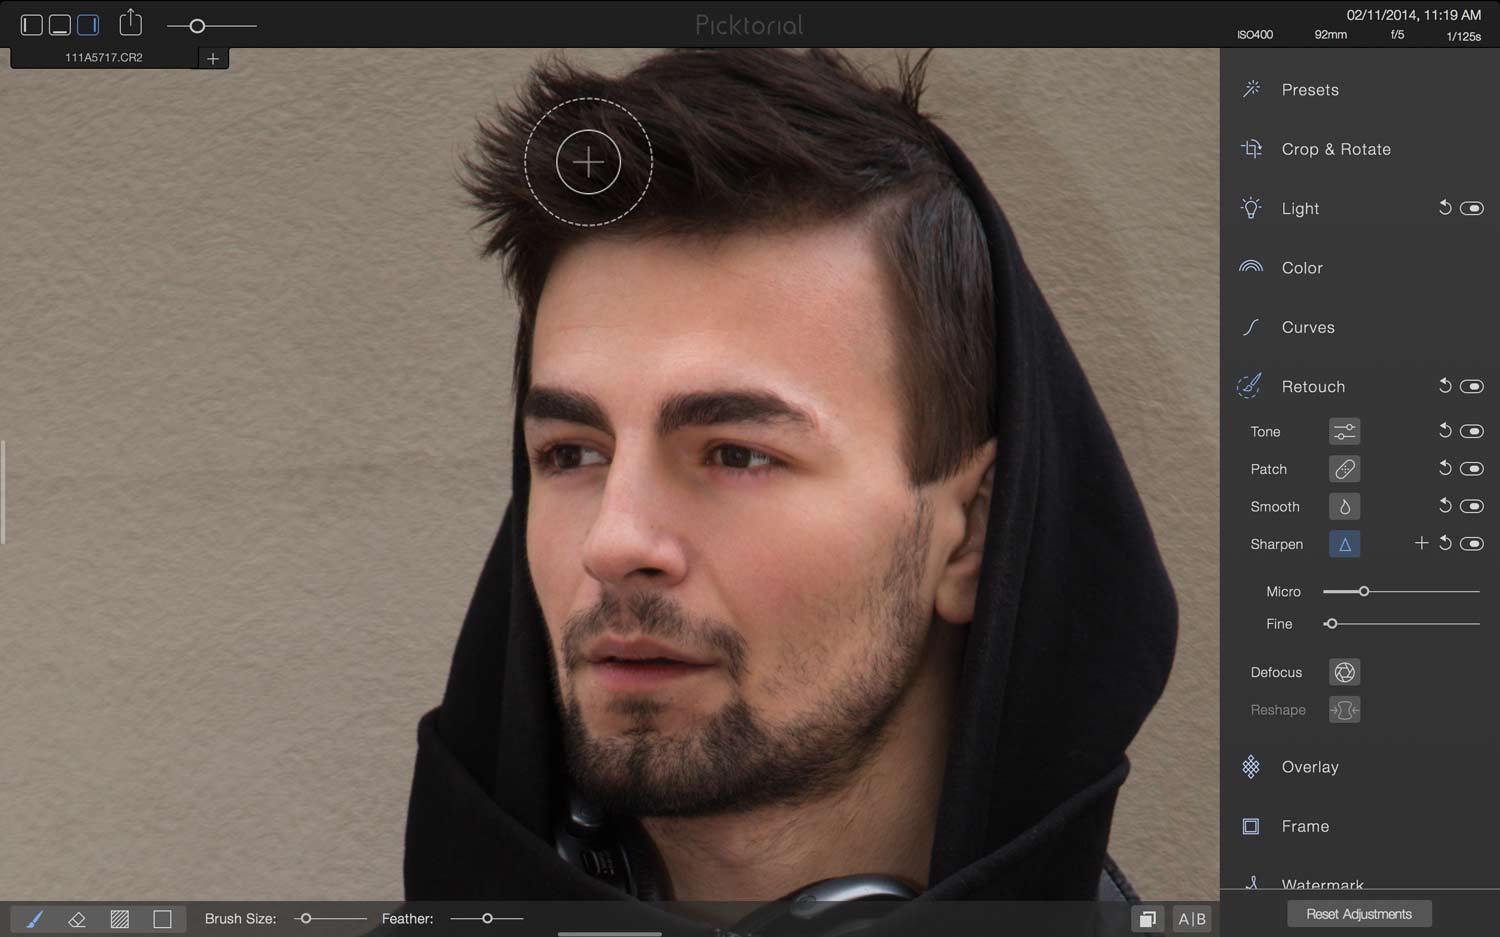
While we’re working on our subject’s eyes, it’s also worthwhile to sharpen their detail, as well as that of his hair. Cameras - and particularly SLRs - are incredibly powerful, but they can’t completely capture the nuances of the human eye, or of individual strands of hair. We’re going to use Picktorial’s Retouch > Sharpen tool to remedy that. For this step, I raised the Micro and Fine settings to 25, and simply applied them to our subject’s eyes. I then reduced Fine to 4 (keeping Micro at 25), and “brushed” them over his hair and beard. In this instance, the settings worked for both hair and beard, but you may want to try different settings for different sorts of hair. The end result is a striking, but realistic, sharpening of these basic features.
Using the Retouch > Tone tool again (and clicking the +), you should also try to increase the exposure and contrast of your subject’s eyes, to give them their natural reflectiveness.
To finish our improved portrait, we’ll simply crop out the right hand side of the image, using, as you might guess, the Crop & Rotate tool set. After that, go ahead and post that pic to Facebook and Flickr! Don’t forget to tag @Picktorial!